How Designer Face Frames Are Made
A haunched joint construction is similar to a French miter joint. This joint allows for three stabilization areas, a greater glued surface area, and creates a refined beaded miter look in the corners of the face frame. Because the bead is integrated directly into the frame construction and not affixed after assembly, this type of joint is strong, stable, and very attractive.
Once you have approved your custom face frame design we begin production and follow these steps to create your designer face frames.
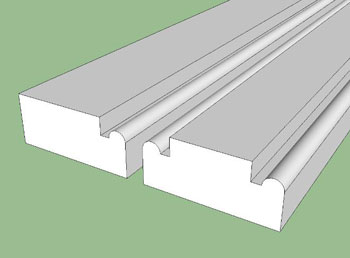
Frame Stock is ripped to the widths that are required by your specific design.
Then Face frames are then cut to length on an optimizing chop saw.
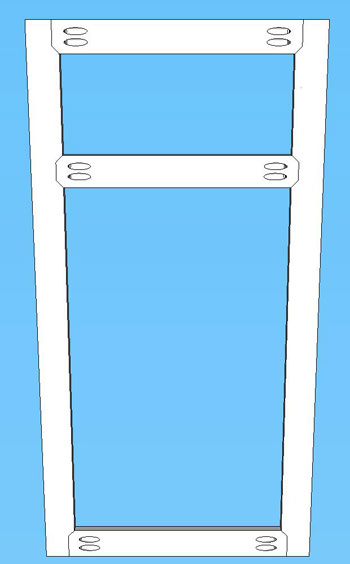
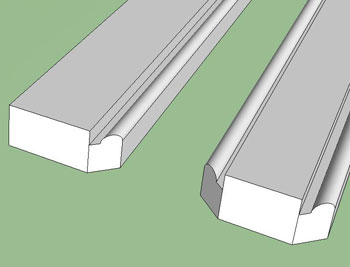
The bead design you have selected is applied to the frame parts. This image depicts a typical FE-7 beaded face frame. Many more inside edge designs are available. The process is the same for all inside edge designs. The FE-1 can also be assembled using a traditional butt joint construction that has no haunching.
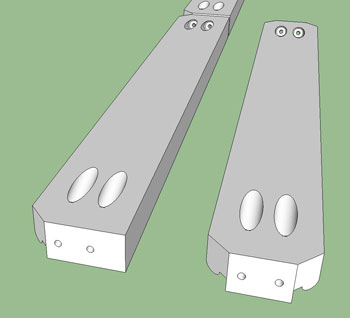
The haunching machine identifies the areas on the frame part to remove. You can see them clearly here highlighted in red.
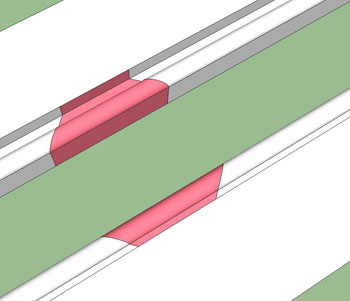
These areas are at a 45 degree angle through the bead and flat where two parts come together.
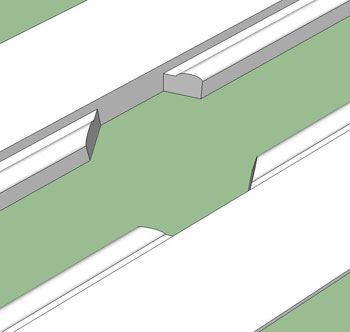
The haunching machine then uses a specialized tool to notch the areas of the frame parts that will be joined with other frame parts.
The same tool is used to cut the corners off of the rails so that a perfect fit is formed between the notches created by the haunching machine and the abutting parts.
The necessary pocket holes are drilled. Glue is applied to the joints, and parts are screwed together using the pocket holes previously drilled.
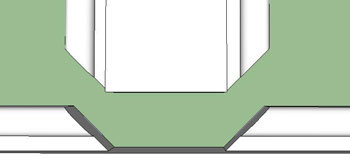
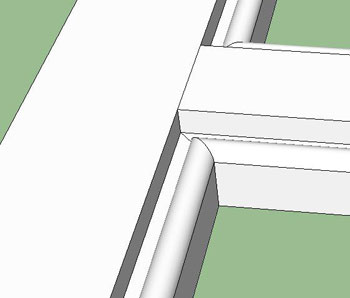
The result is that the beaded part of the frame is mitered. This creates a continuous bead around the opening.
The back side of the frame, although not normally visible in most applications, will look like this.