What is the Decore-ative Specialties catalog and export button?
Decore-ative Specialties has partnered with Hexagon to add the Decore-ative Specialties’ wood and DecoForm® door catalogs to CABINET VISION. The wood and DecoForm® door catalogs contain all doors found in our price book. They contain door profiles, materials, and min/max sizes. We have also added a button to export a job to our website to make your ordering experience easier, faster, and more accurate. The combination of the catalog and job export will decrease the amount of time it takes to place an order while increasing accuracy and efficiency
Section 1: Using the Catalog
Decore-ative Specialties’ catalog is installed in addition to your current door catalog, it will not replace catalog(s) you already have. Decore-ative Specialties’ catalog can be found when selecting door styles for a job.
Step 1.1:
- Start a new drawing, in the job properties, click “Cabinet”, click “Doors” tab, click on three little dots next to “Style Name” to open the door catalog. Here you are selecting the door style for “All” meaning the entire job
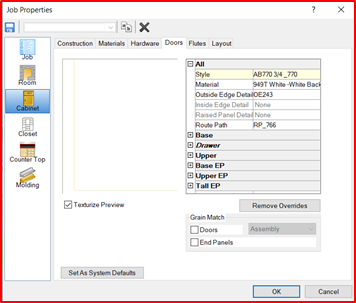
Step 1.2:
- Click the drop down next to “Catalog:” and select Decore DecoForm® or Decore Wood catalog. Click “Search” to enter a door name or number or browse the door categories to find a door to use on your drawing
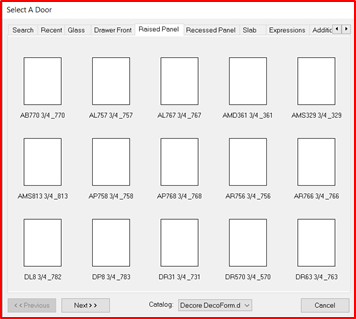
Step 1.3:
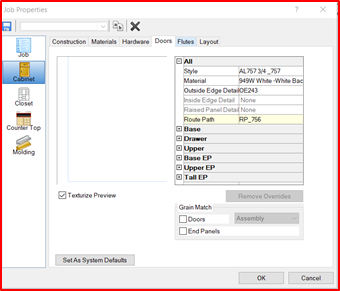
- Click on “Material” to bring up the available material options for the door selected. The materials shown were available at the time of the CABINET VISION Catalog creation (subject to change without notice)
- Click on “Outside Edge”, “Inside Edge” or “Raised Panel Detail” to make changes where applicable. Some doors will not have any options available
- Note: You must adjust the Base, Drawer, Upper to reflect the correct door styles if different than the selection made in “All”. Click “Ok” and begin your drawing
Section 2: Importing Orders from CABINET VISION
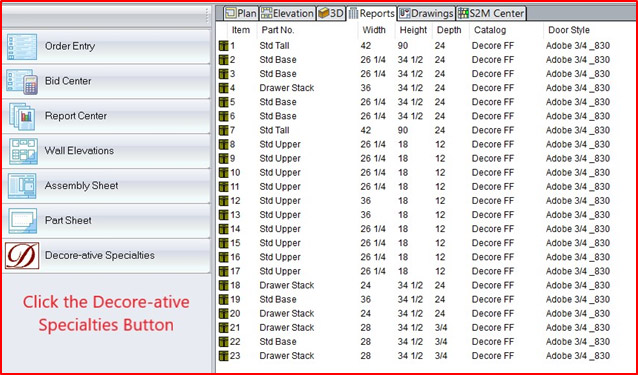
After you have completed creating your job, click the “Reports” tab. We recommend printing the Door List report from the Report Center to use when placing your order. Using this report as a reference can help to ensure an accurate order
Step 2.1:
- On the Reports tab, click the “Decore-ative Specialties” button
Step 2.2:
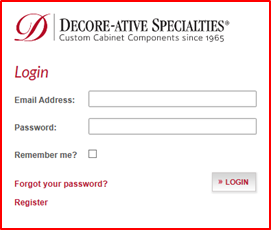
- A browser will open to Decore.com and ask you to log in. Enter your email address and password, then click “Login.”If you check the “Remember me?” box it will remember your information for future logins
- If you need to activate an Anytime Account, please click “Register” and fill out the form and Click “Register”
- Note: Your Anytime login credentials will be emailed to you. You may be contacted for further information, you will not be able to continue until you have your account credentials
Step 2.3:
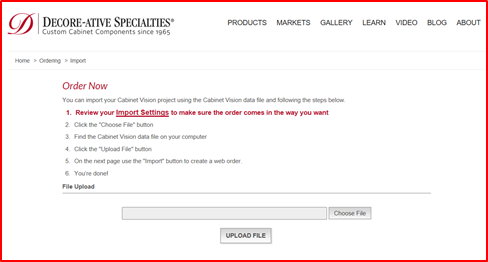
- The import screen will open, click the “Choose File” button and browse to find and select the “report.mdb” file. Click “Upload File”
- Note: Typically, the “report.mdb” file is saved inside the Database folder in your C Drive. If you click “date modified” with the most recent at the top it should be there
Step 2.4:
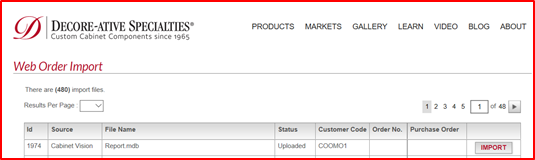
- You are then directed to the Web Order Import page. Click the “Import” button
Step 2.5:
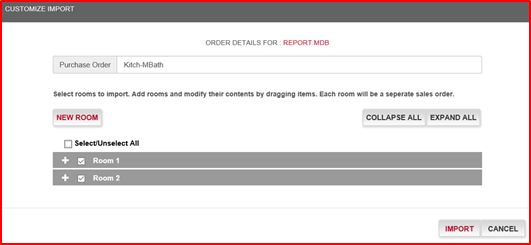
- Check that the Purchase Order matches your job (this auto fills from CABINET VISION PO; or it can be entered now)
- Check or Uncheck the Rooms you want imported. Each Room is a different web order (Example Room 1 is Kitchen and Room 2 Main Bath)
- Click “Import”
- Wait while the items are imported into Anytime

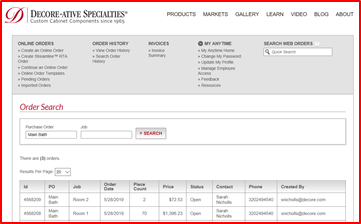
Section 3: Review Your Order in Anytime
Step 3.1:
- Click on the ID # of the order you just imported
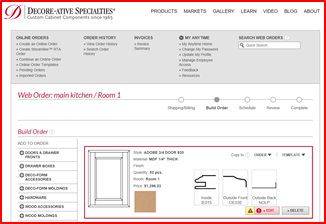
Step 3.2:
- You must correct any errors with red stop signs or yellow warning signs. Errors occur when doors are oversized, material is missing, or finish selection is required
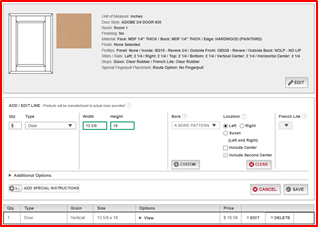
- Click “Edit” to review your order and make sure that all details have been captured. (example hinge info)
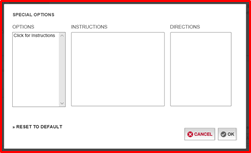
- If needed, you can Click “Add Special Instructions” and the box shown will come up, allowing you to add any instructions for the door. These instructions are reviewed by customer service and may delay the processing of your order
- Click “Save”
Step 3.3:
- Now that you corrected any errors and added your special instructions, you can click “Schedule Order”
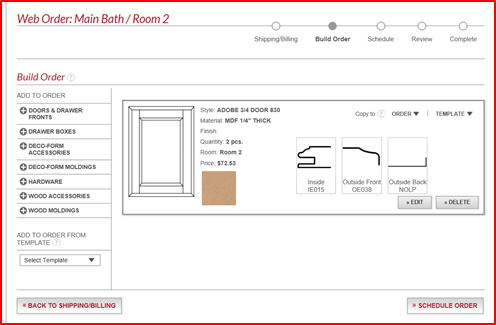
- Note: From the Build Order screen, you can add any additional products to your order that you may not have included in your CABINET VISION design including hardware, moldings, and fillers
Section 4: Scheduling Order
Step 4.1:
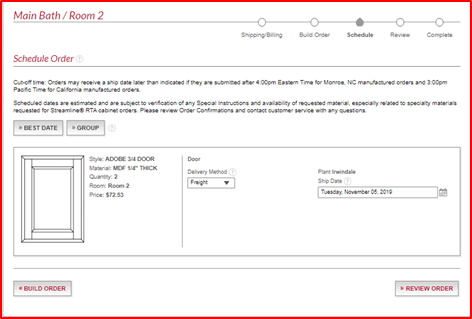
- Select from our two scheduling options:
- Best Date - This scheduling option schedules all items for their quickest lead-time possible which may result in your items having different shipping dates and shipping charges
- Group - This scheduling option will consolidate all your items to the same date
- Select Delivery Method for each part of the order
- Freight
- Will Call
- Small Parcel
- Select A Ship Date
- Date shown is the standard lead time for your order
- Click “Review Order” Button
Step 4.2:
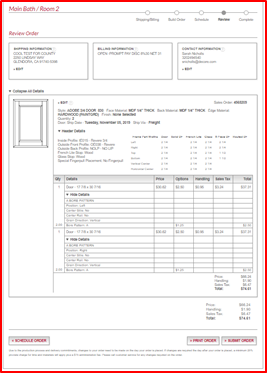
- Review Shipping, Billing, and Contact Information
- Review the order details including door style, material, and door sizes
- Click “Print Order” if you need a copy for your records
- You can access your order in your Anytime account after it is placed or by contacting our Customer Service Department
- Click “Submit Order” to send the order to customer service for review
- If you have entered any Special Instructions, Customer Service may contact you for clarification
See Also: